Running Imputation on MIS
Setup
Several imputation servers are available, each hosting different reference panels. In this tutorial, we will use the main instance of the Michigan Imputation Server. Before starting, make sure you complete the following prerequisites:
- Create an account.
- Download the required array data for imputation and PGS calculation.
Prepare Your Data
The dataset used in this tutorial has already been prepared for the Michigan Imputation Server. For your own data, please follow our Data Preparation Guide.
In general, the following requirements must be met:
- Create a separate
.vcf.gzfile for each chromosome.
- Ensure that variants are sorted by genomic position.
- Use either GRCh37 or GRCh38 coordinates.
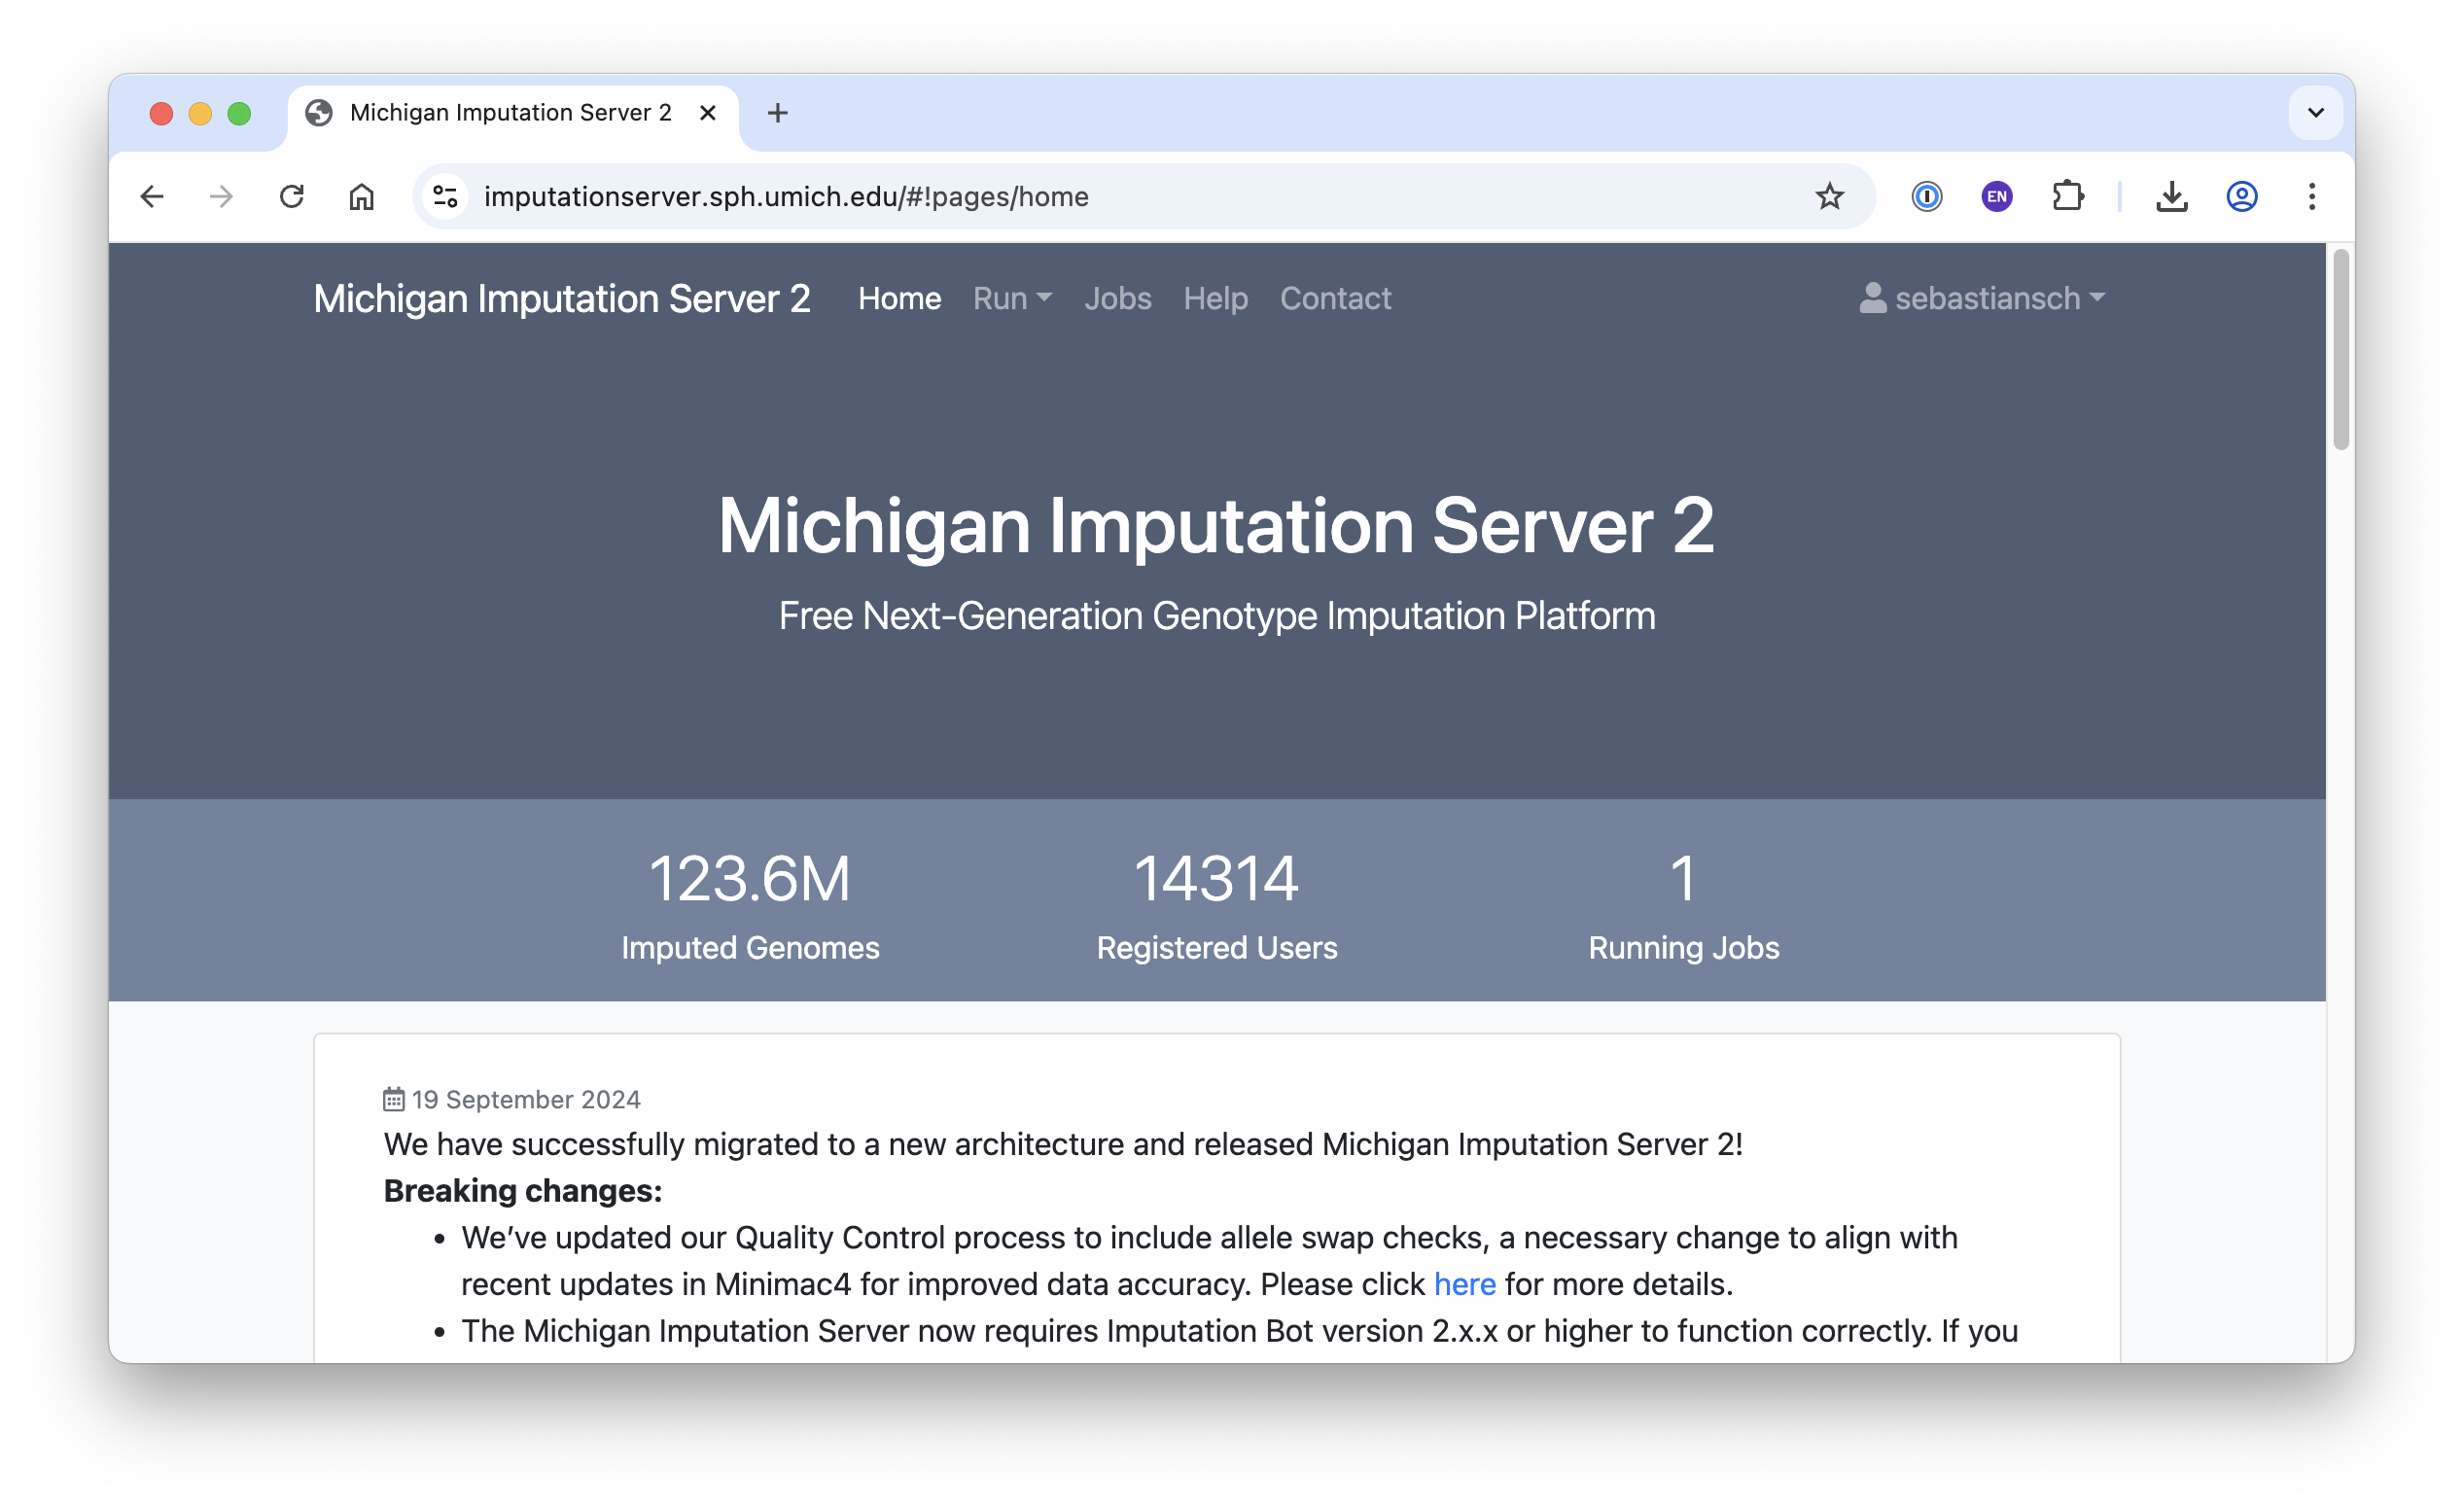
Login
After a successful login, you can start a new job using the Run tab or check previously submitted jobs under the Jobs tab.
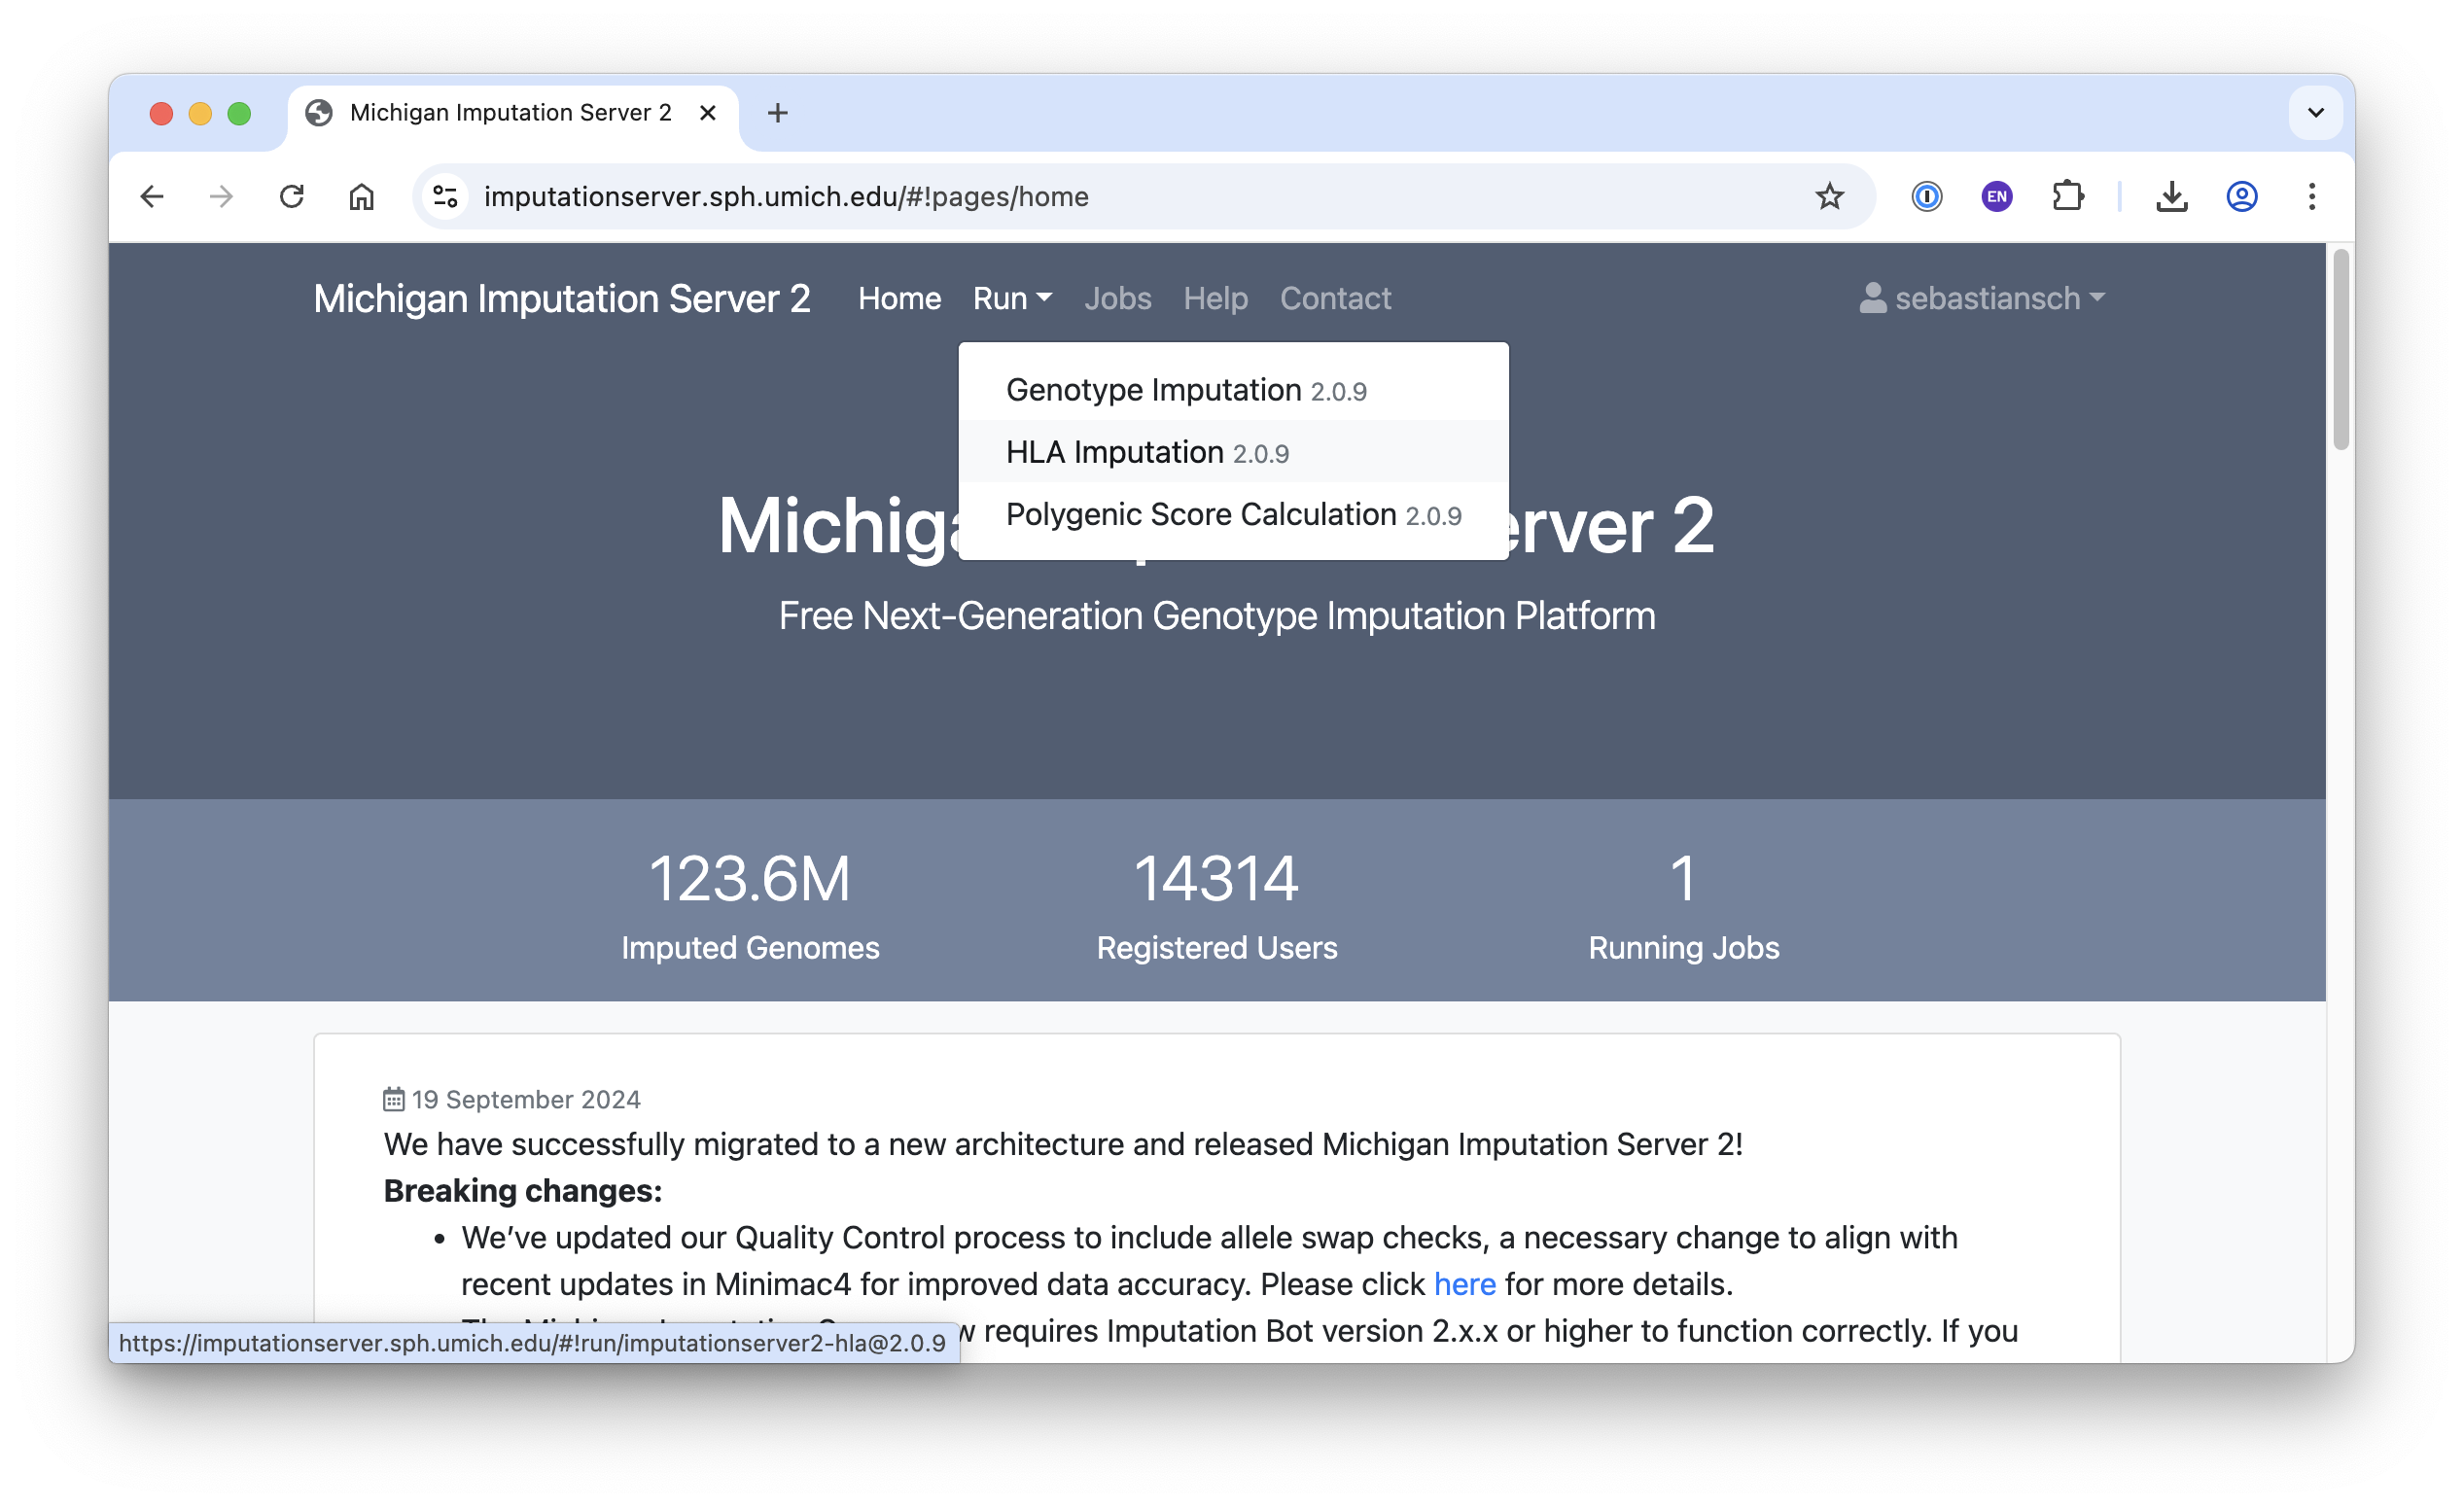
Run Imputation
The Michigan Imputation Server offers several applications, including Genotype Imputation, HLA Imputation, and Polygenic Score Calculation. In this tutorial, we focus on the Genotype Imputation app.
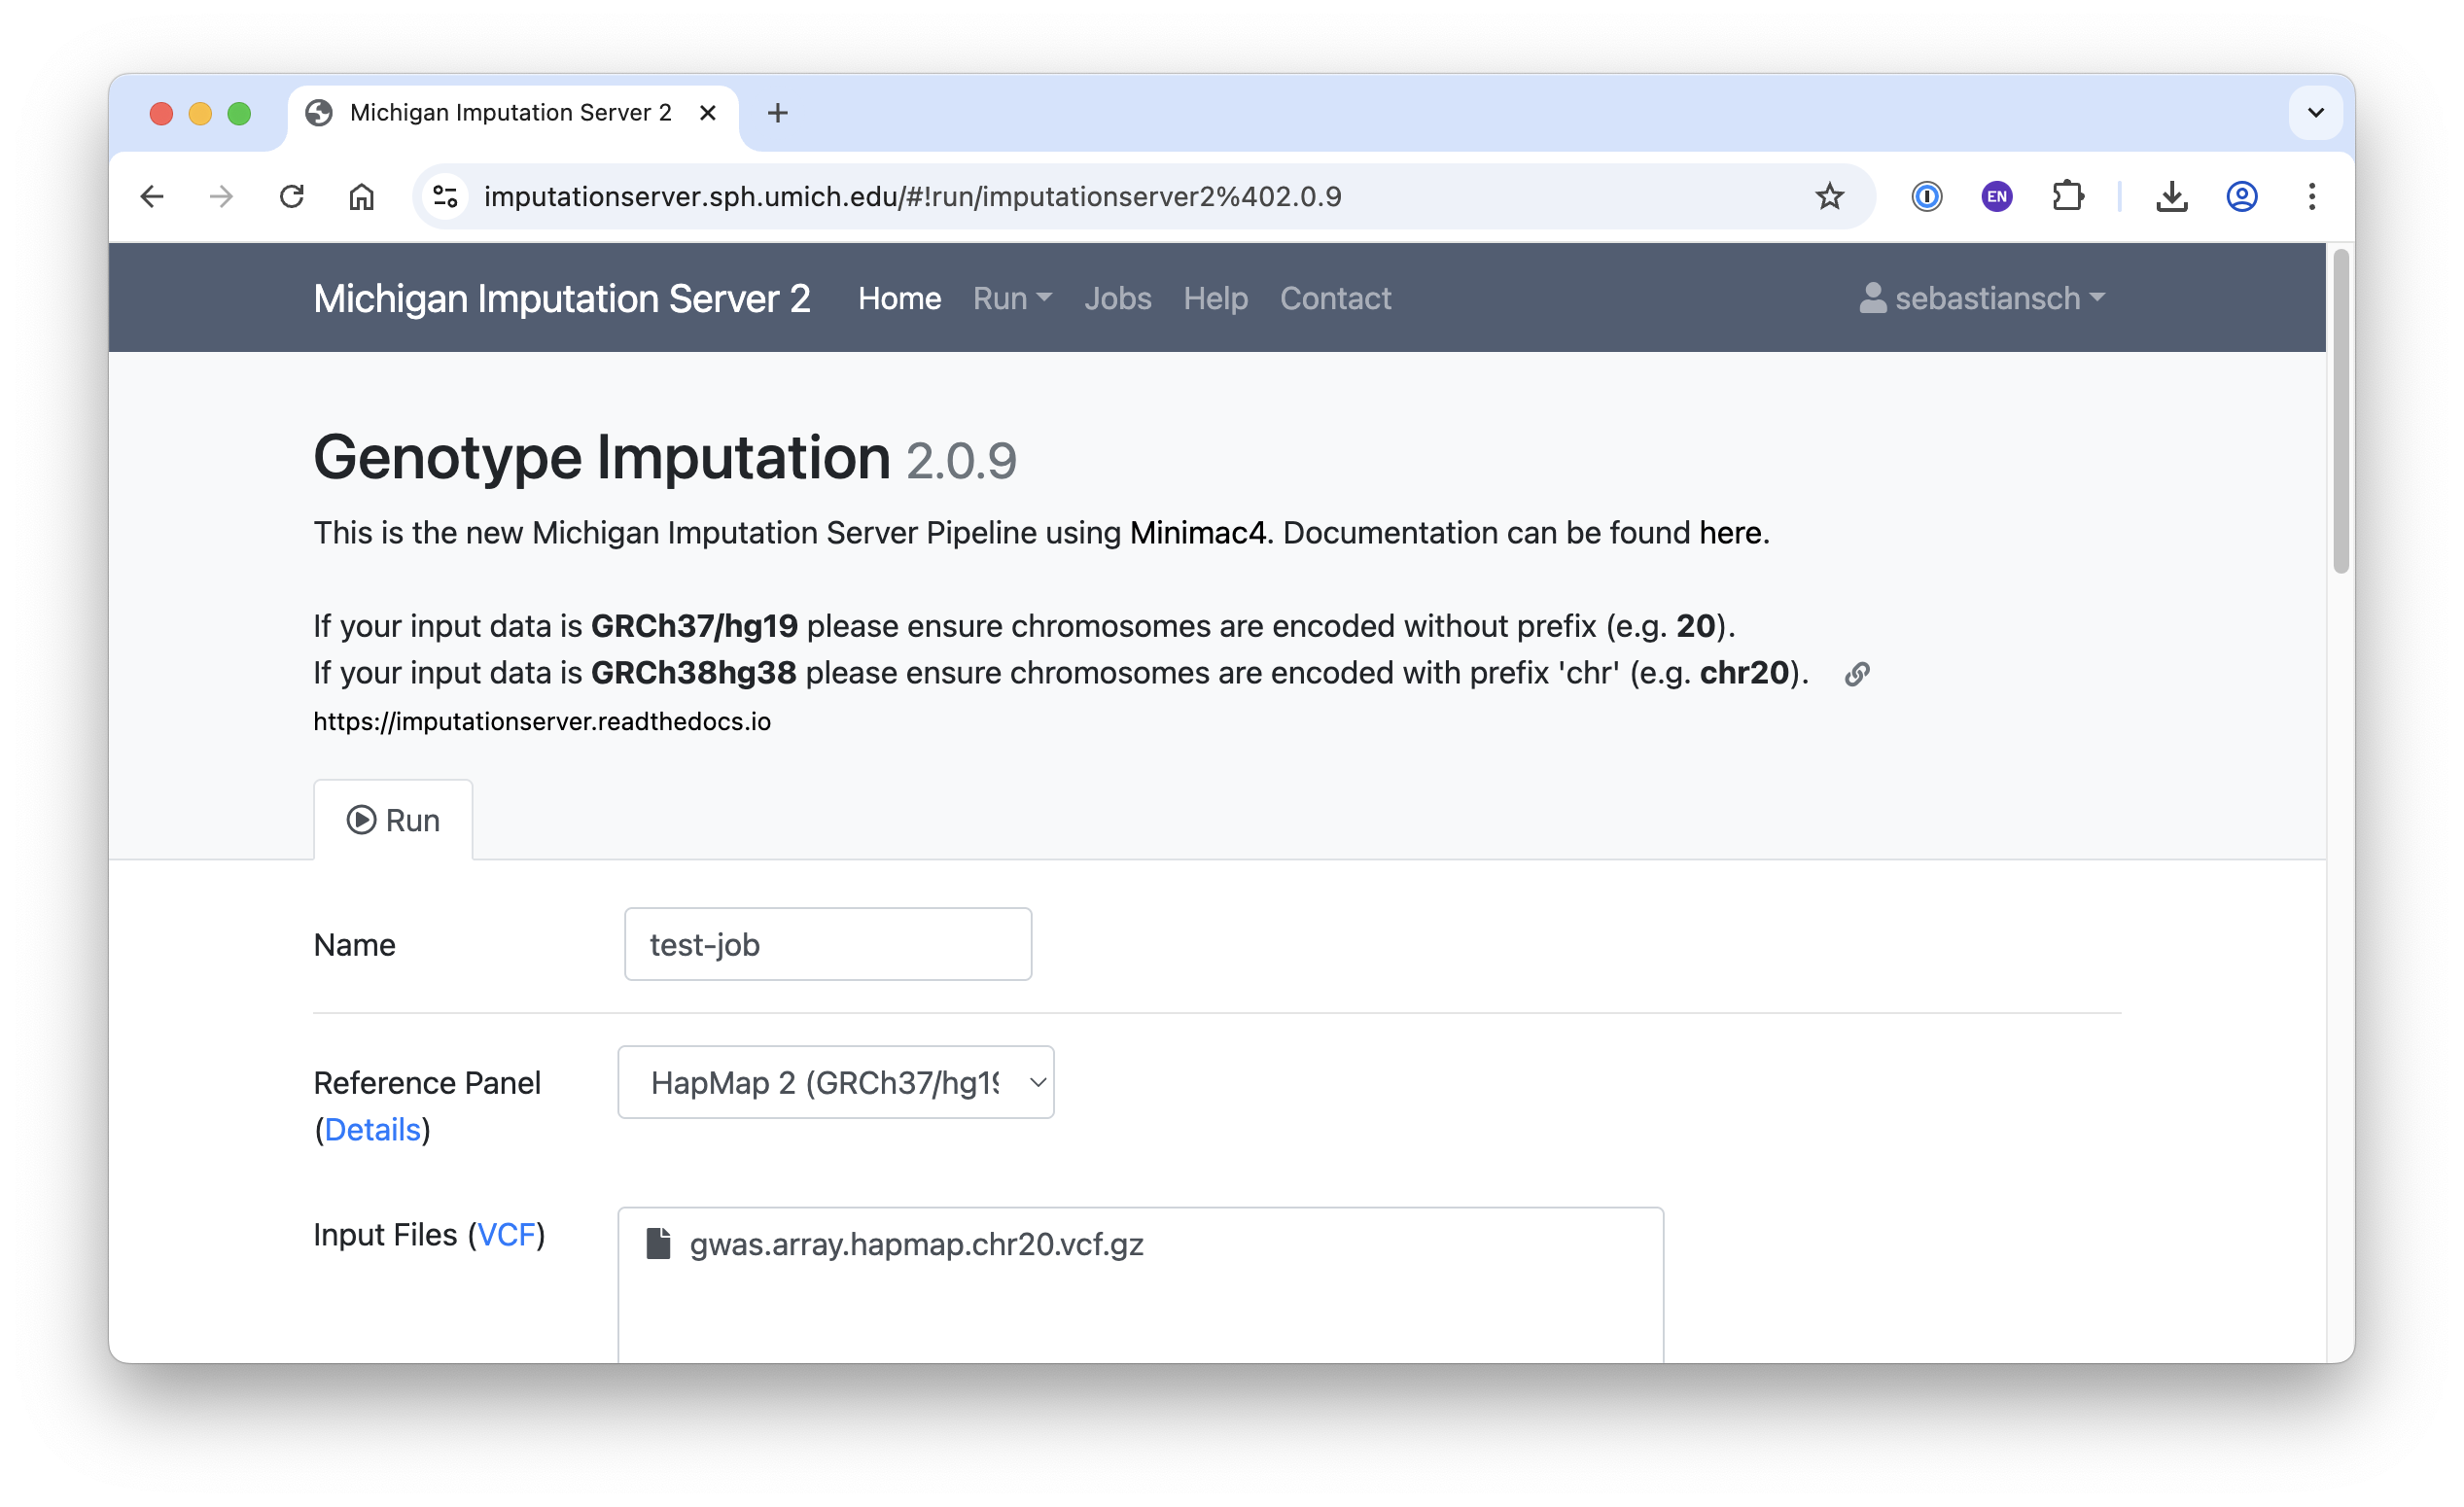
After selecting the app, fill in the required fields (see below), accept the terms of use, and click Start Imputation.
- Name: Any name of your choice
- Reference Panel: HapMap 2
- Input Files:
gwas.array.hapmap.chr20.vcf.gz
- Allele Frequency Check: EUR
Job Queue
Once submitted, your job will go through Input Validation, Quality Control (QC), Phasing/Imputation and Compression/Encryption. Jobs are queued, and you will receive a notification when your imputation job is complete.
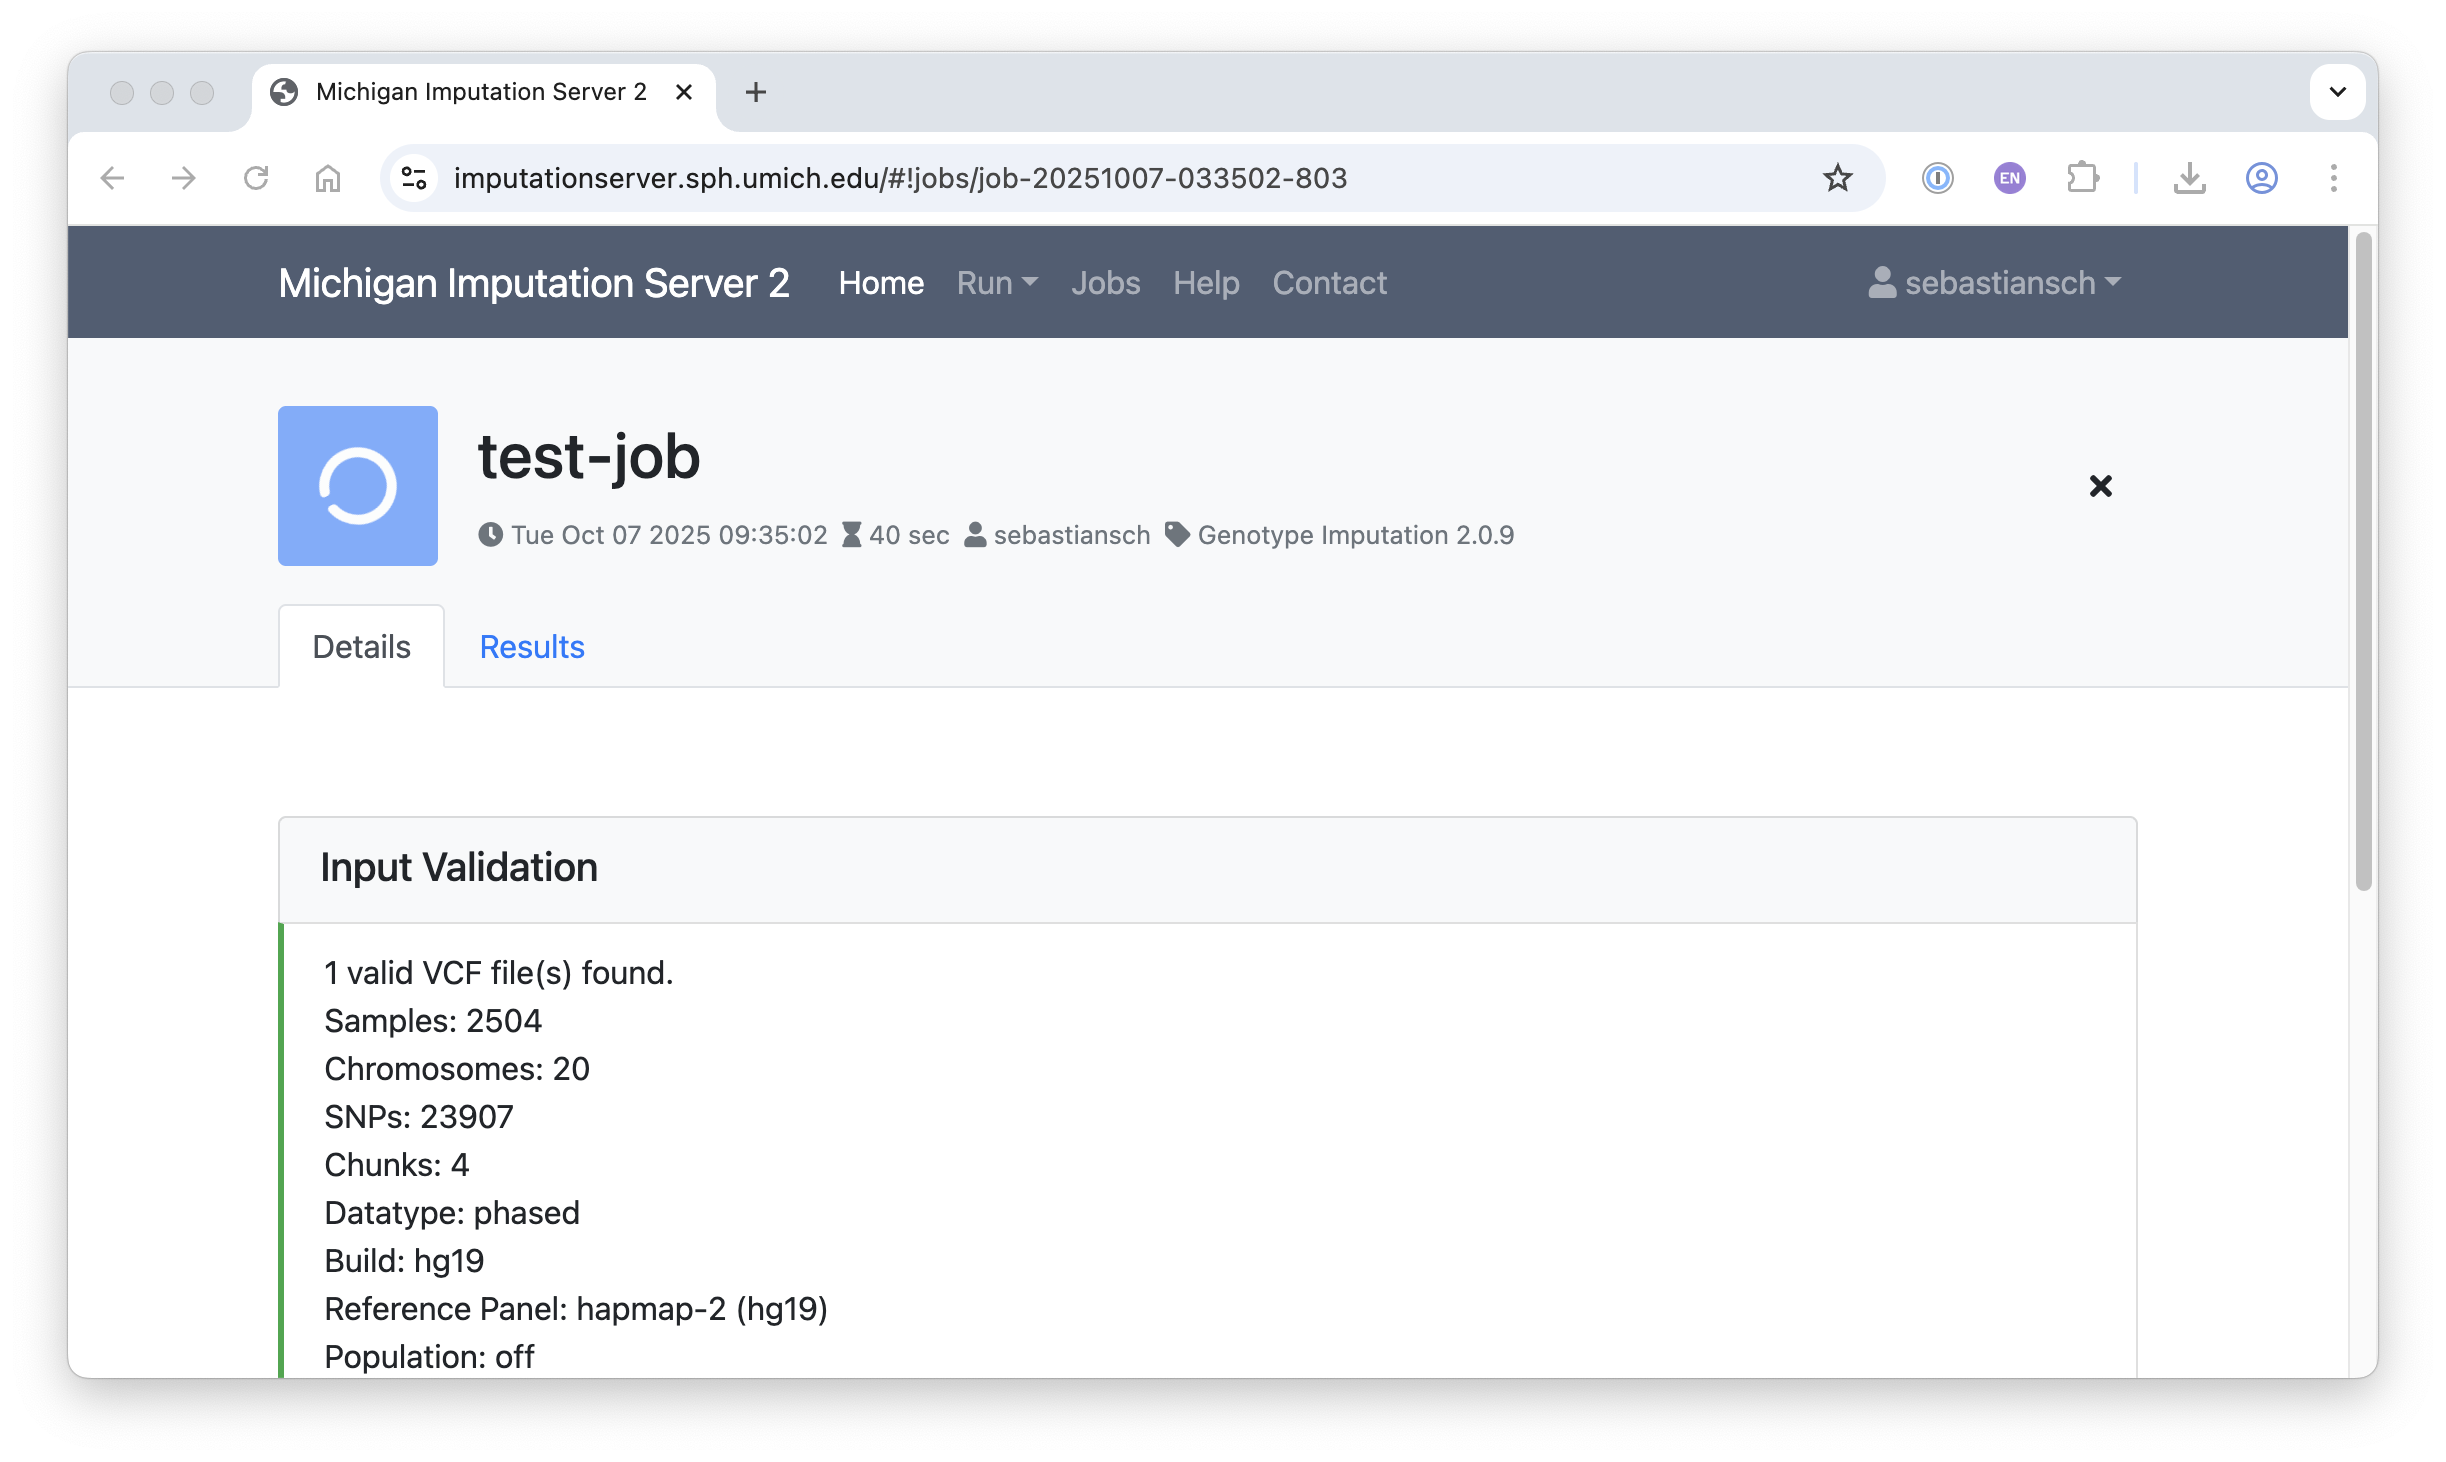
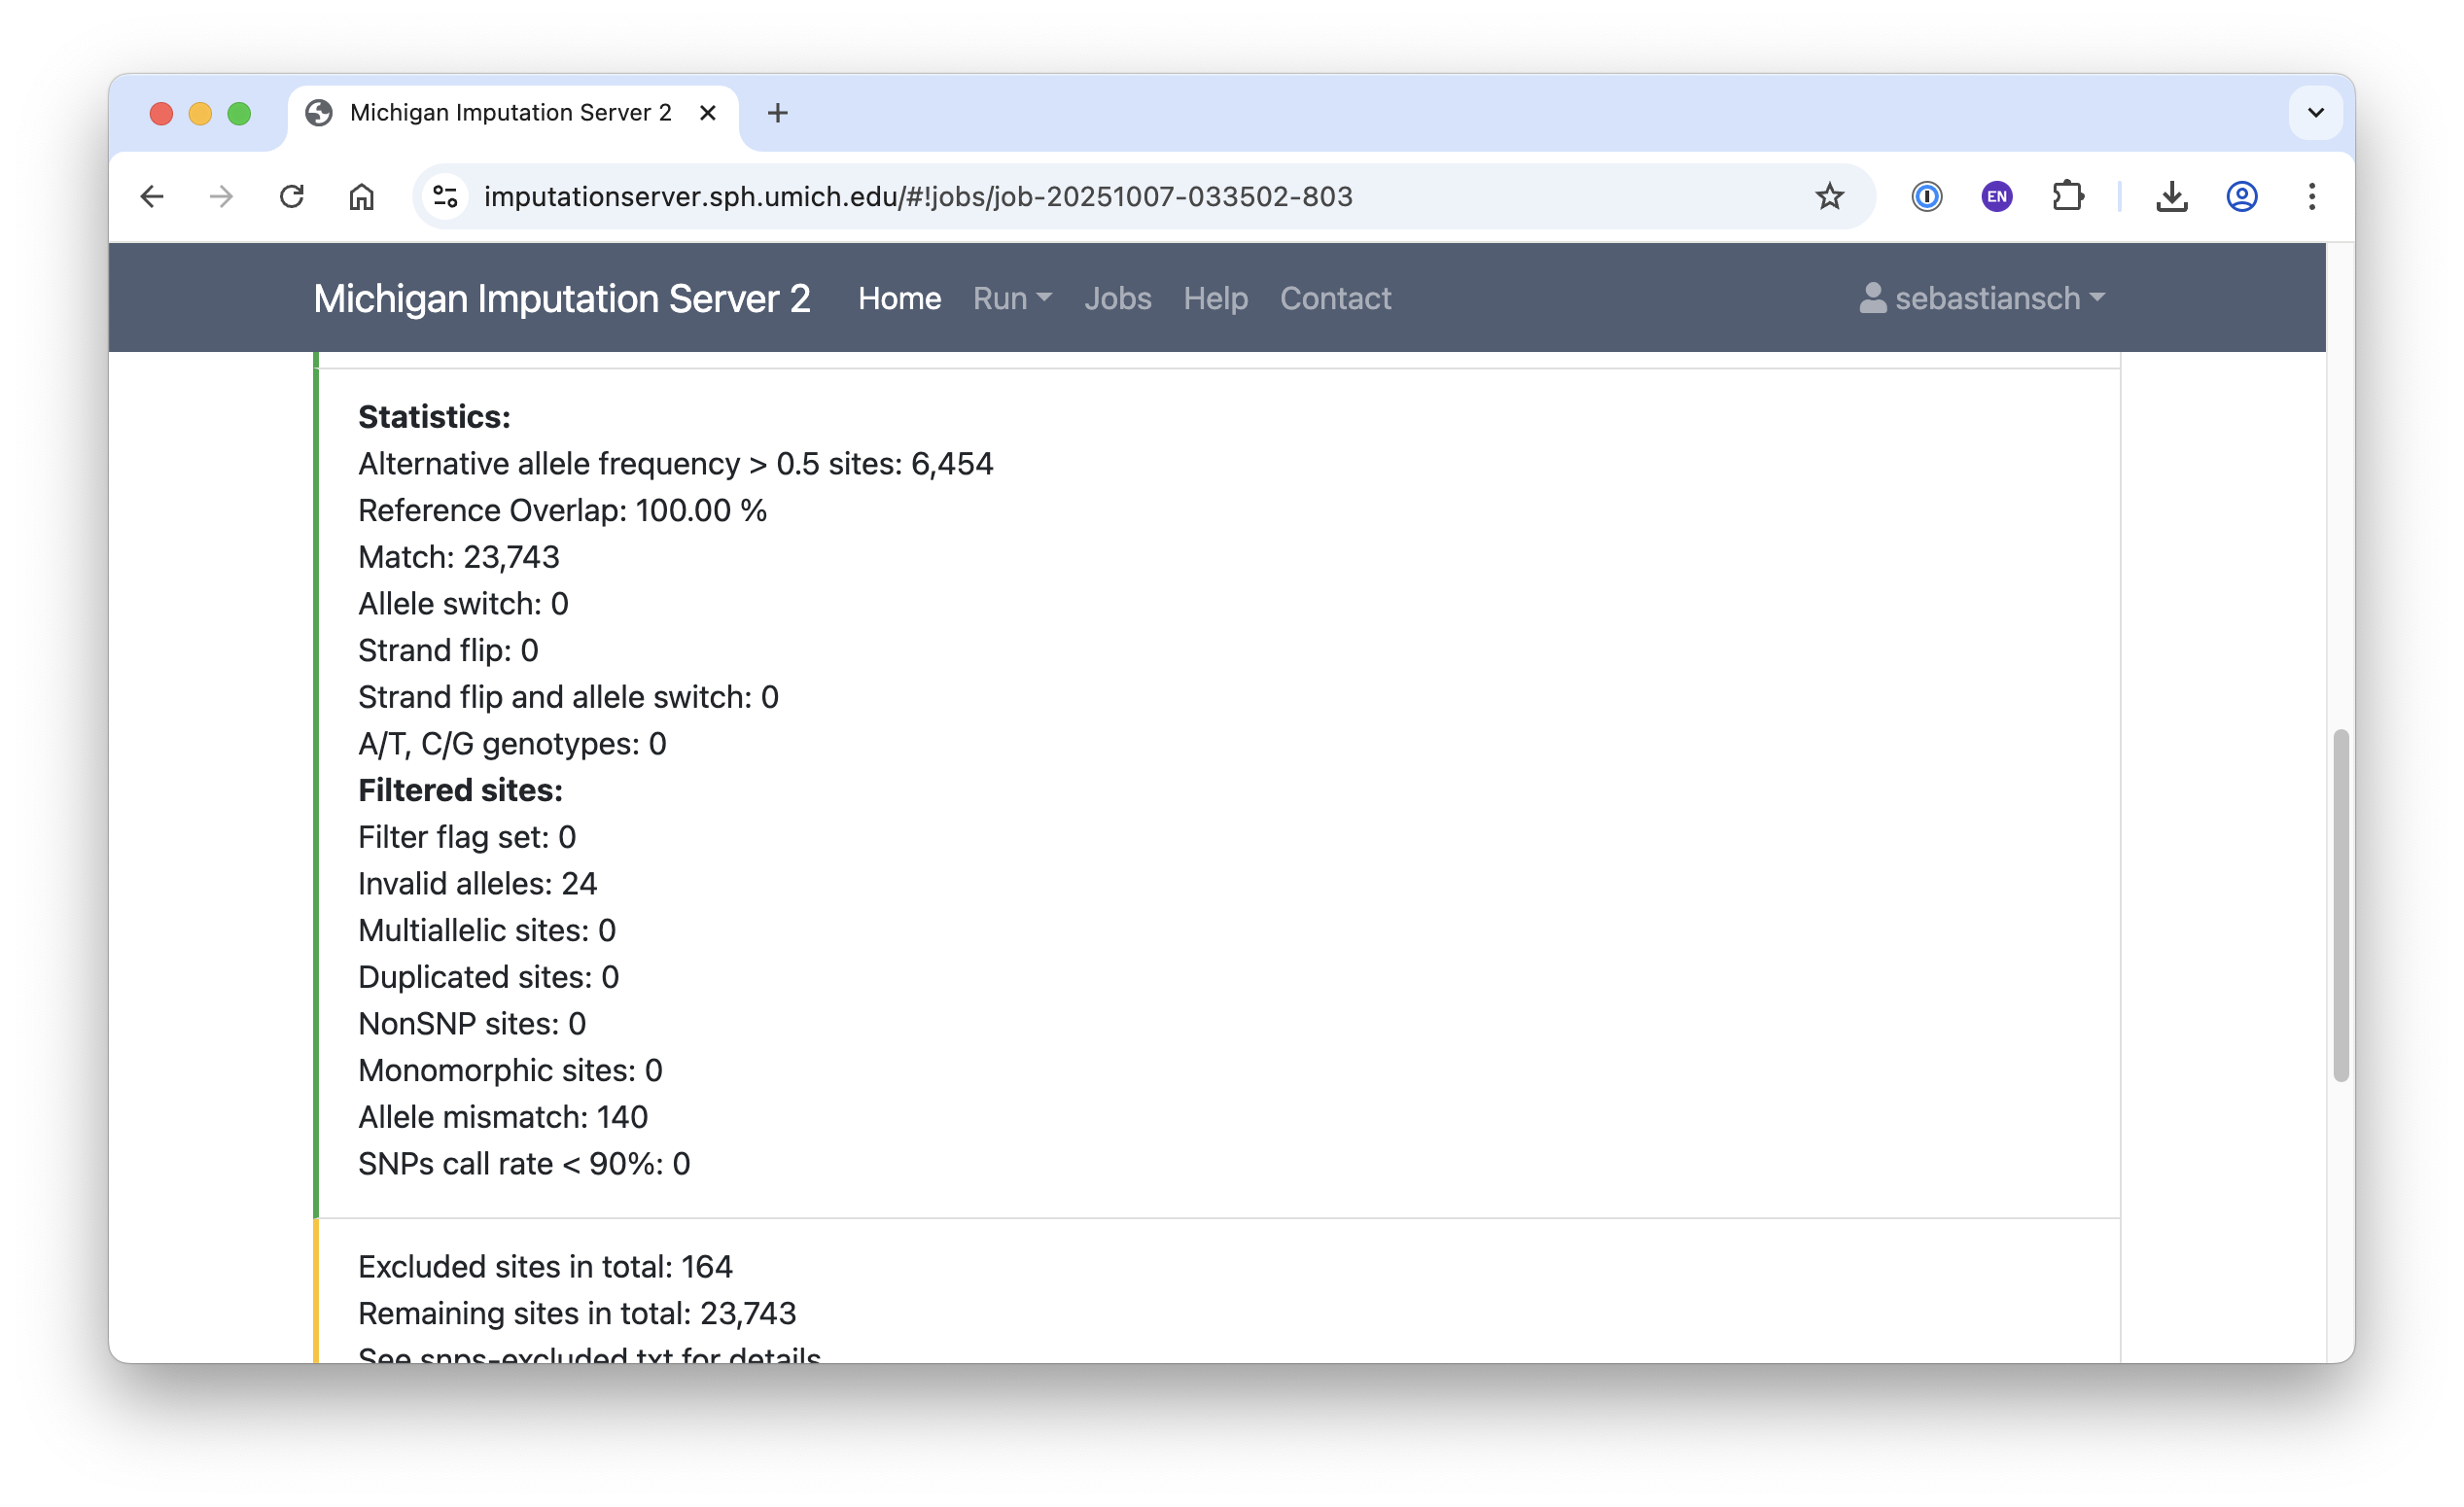
Input Validation and QC
The screenshots below illustrate statistics from input validation and quality control:
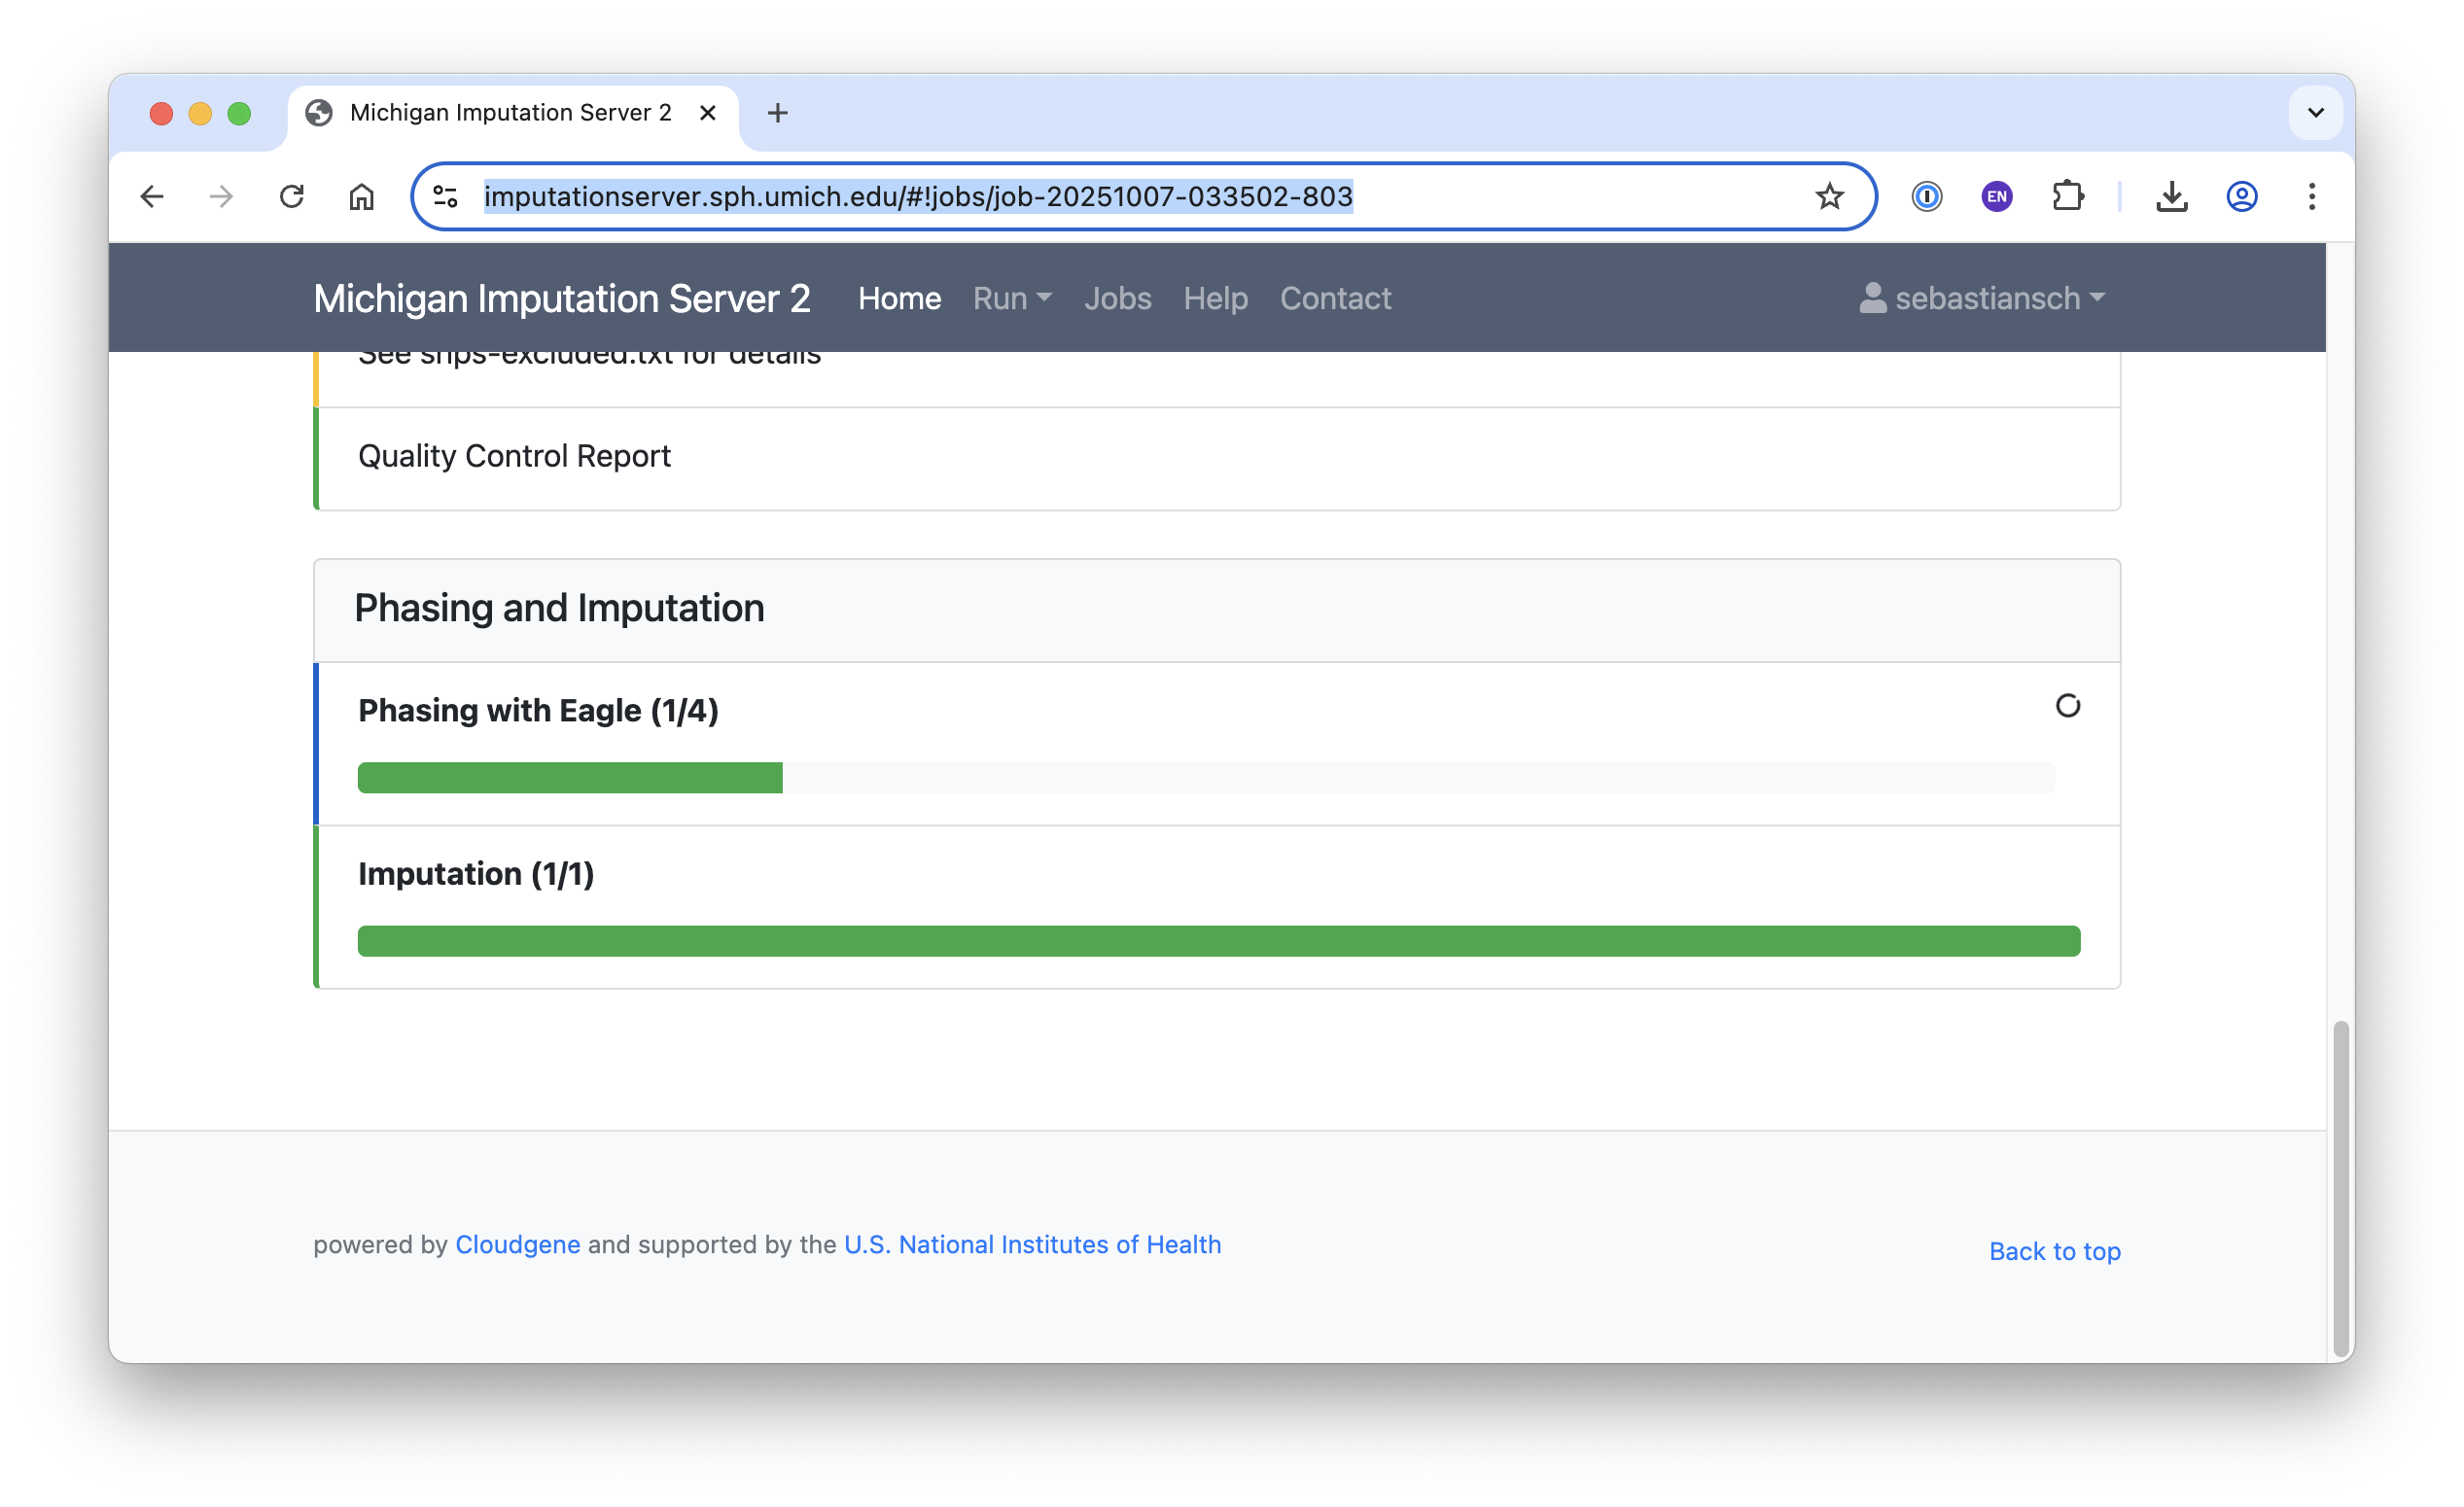
Running Jobs
The job is now queued and typically runs for around 30 minutes, depending on queue availability.
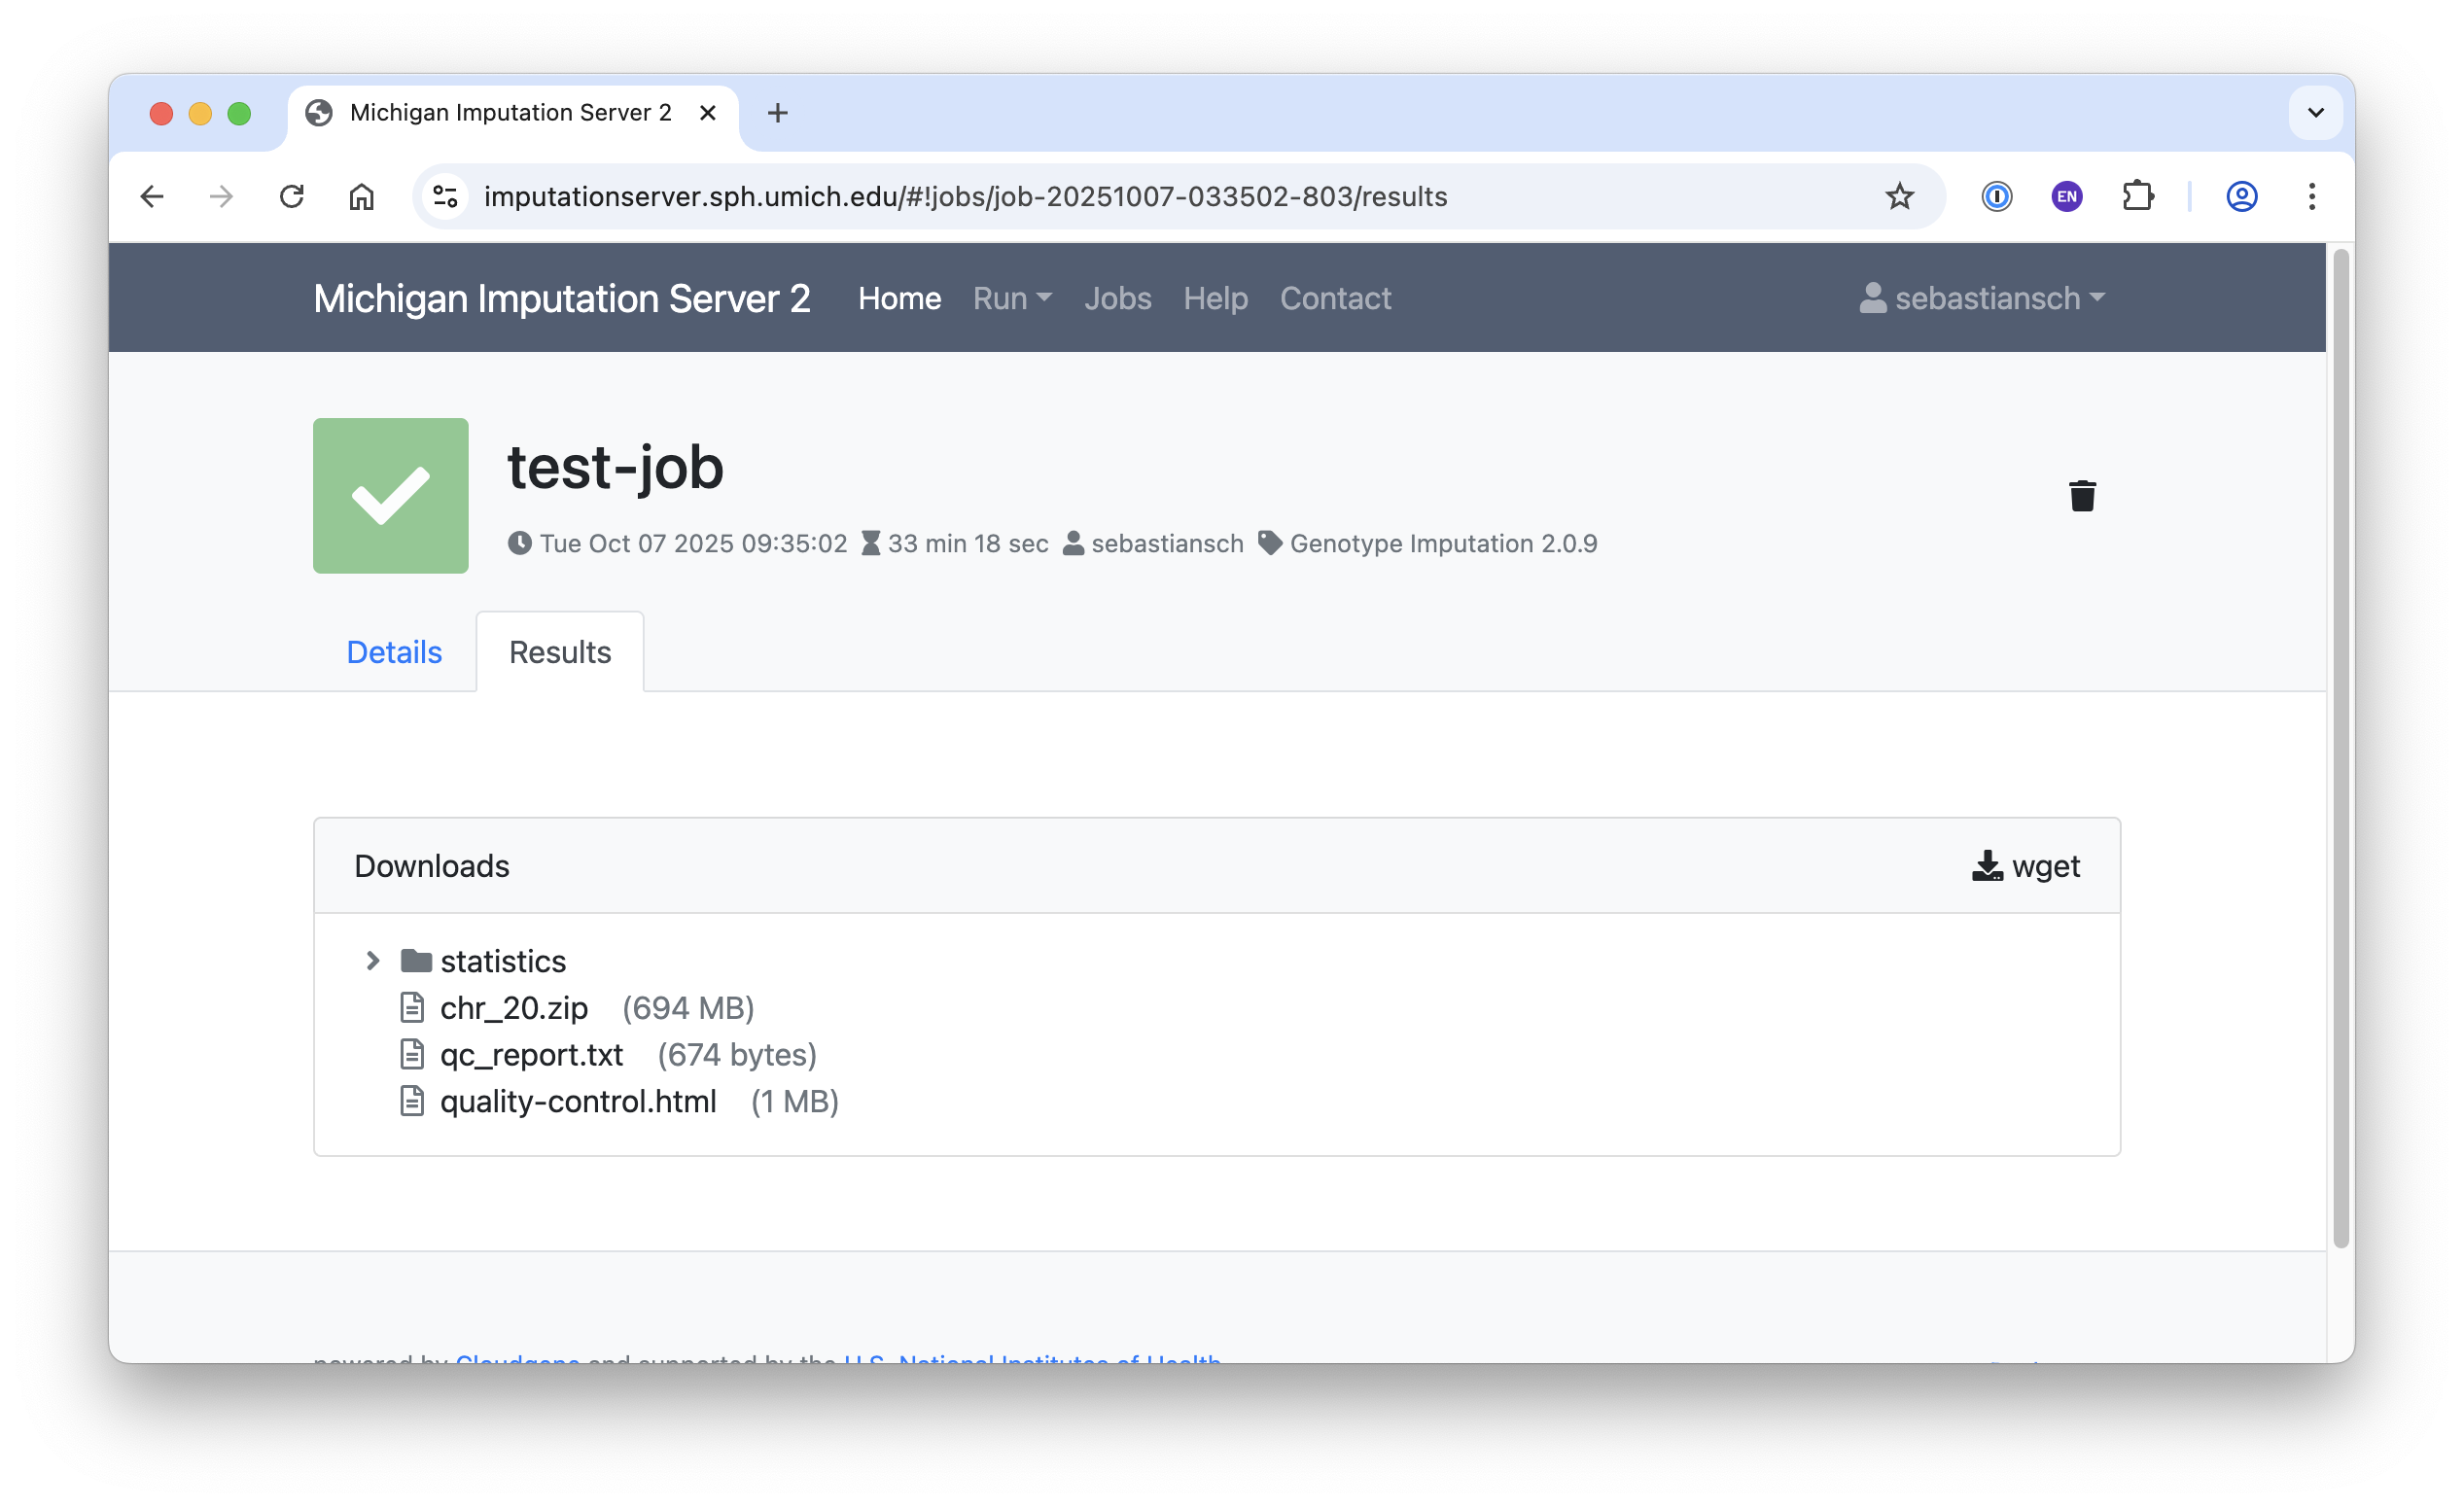
Download Results
Once your job is complete, you will receive a notification. You can then download your results in one of the following ways:
- Click on
results.zipto download the file directly.
- Or use the
wgetcommand in your terminal.
To decrypt your data, use the password that was sent to you via email. Furthermore, QC-Report is available in HTML format.
Next Steps
The downloaded zip file contains the following files:
chr20.dose.vcf.gz– dosage file, can be used for GWAS analysischr20.info.gz– variant information file
The dosage file (chr20.dose.vcf.gz) can be used to run a GWAS using PLINK2 or nf-gwas.